9. 3D Printing in robotics – OTTO DIY
Another field, in which 3D printing can be very helpful is robotics and all the types of activities, where you want to build electronic devices – drones, Arduino constructions, etc. You can design anything you want, “arm” your device with electronics parts and make it “alive”.
One of the most popular devices of this type are DIY (Do It Yourself) robots – attractive toys and great educational tools. There are many different models, which you can find online. Some of them have dedicated websites, the other ones are available on community portals, like Github or Thingiverse. All the best examples can be found in the database on www.edurobots.eu
Good choice to start will be OTTO DIY. The robot has its own website: https://www.ottodiy.com/, the profile on Thingiverse: https://www.thingiverse.com/thing:1568652, own place on Github: https://github.com/OttoDIY, Wikifactory: https://wikifactory.com/+OttoDIY and TinkerCAD: https://www.tinkercad.com/things/1kI624iowUR. It has also a Facebook fan page: https://www.facebook.com/ottodiy/?ref=br_rs and group: https://www.facebook.com/groups/ottodiy/
The initial version is really simple, but thanks to the big and growing community of builders there are newer and more complex versions appearing. Otto is open-source and anyone can use and remix it.
The basic parts can be downloaded from Thingiverse: https://www.thingiverse.com/thing:1568652. You can print them without any changes or personalise the robot in TinkerCAD: https://www.tinkercad.com/things/1kI624iowUR. While doing this remember not to change the basic shape too much. Some modifications can make integration with electronics impossible.
The electronic parts, base on Arduino Uno, are relatively cheap and can be purchased online or in an electronics store in your city. The complete specification is given on the Otto website and on the Thingiverse platform.

Image 9.1
Having all the elements printed and all the electronic parts ready, you can start assembling the machine. While printing of all the parts will take you about 10 hours, assembling and implementing the basic programme (to be found on Github) is about 2-3 hours. If you need help, there are some tips on the above-mentioned websites and video-tutorials on youtube.
At the end the result should look like this:

Image 9.2
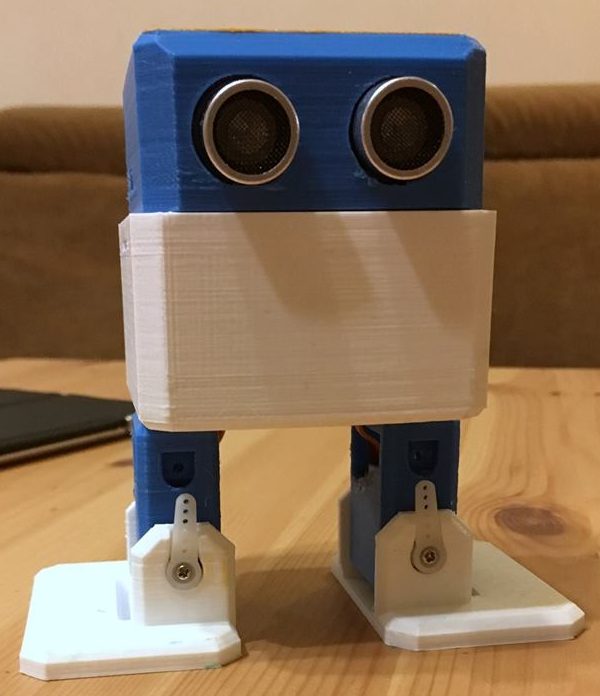
Image 9.3